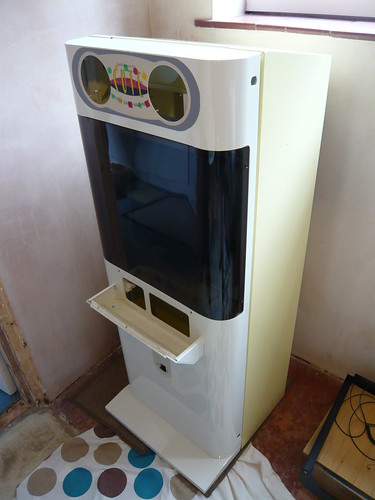
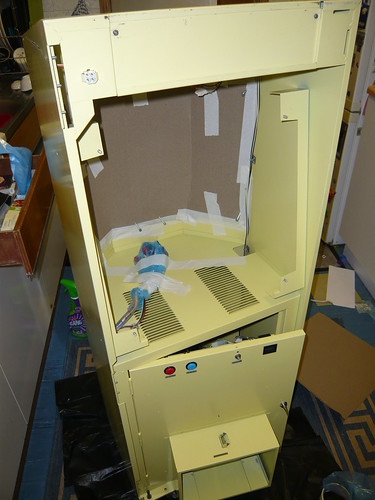
Thursday 25 June 2015

Capcom Mini Cute Restoration – Part 5

Castor wheels
When moving the Cute around, movement was uneven and bumpy.  The castor wheels were in poor condition, with chunks missing from some of the wheels.


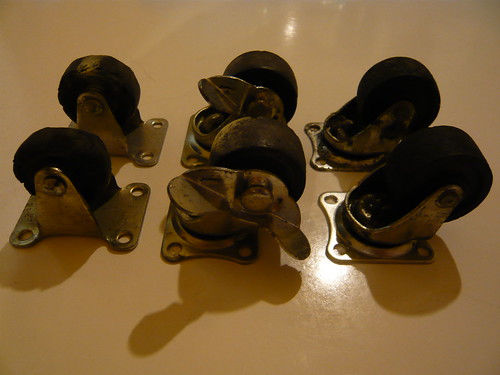
The cab has six castor wheels in total, two on the front section and four on the main body.  The back two wheels are fixed position, the other four are swivel type.  The diameter of each of the six wheels is 38mm, central hole diameter 6mm and width 18mm.

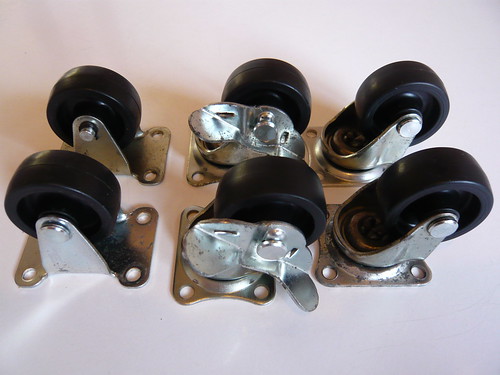
I removed the castor wheels from the front section and managed to find replacements in Clas Ohlson, Article No. 30-9744, which were virtually identical to the originals.  I bought six with the intention of renewing them all.  However the castor wheels on the main body are different.  The two front wheels have a locking mechanism, although the base plate profile is the same as those on the front section.  The two back wheels are fixed position and the base plate is a different size. 

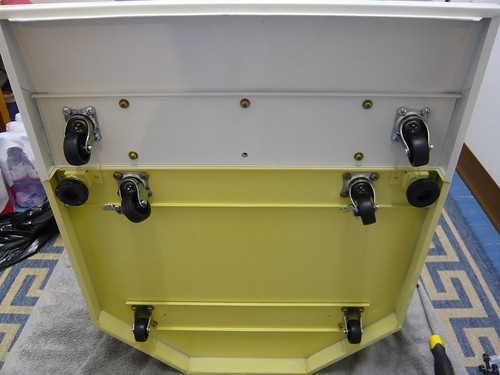
I was unable to find replacements for the castor wheels on the main body, so I decided to keep all of the original castors and renew the wheels with those from the new castors.  Taking the new castors, I used a junior hacksaw to cut the end off the pin, allowing removal of the pin and wheel.  I then removed the wheels from the original castors using the same method, and gave the castors a good clean up using WD-40, cleaning cloths and foam tipped buds.  I then fitted the new wheels to the original castors using clevis pins and circlips:

Clevis pins, Type ISO 2341 - Circlip
Nominal diameter 'd' of each pin 6mm


Material: mild steel, zinc plated

Grip length 'G1' from under the head to the inside edge of the groove:

1. G1 = 26mm x 4 pins for the rear and front wheels
2. G1 = 28mm x 2 pins for the locking wheels
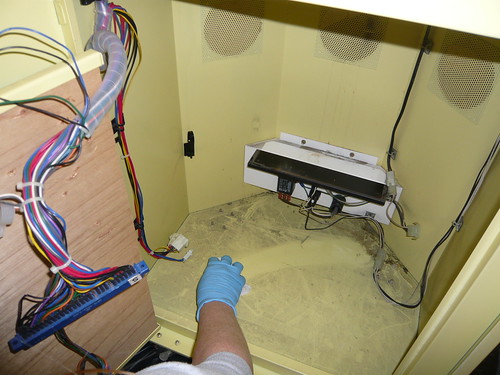
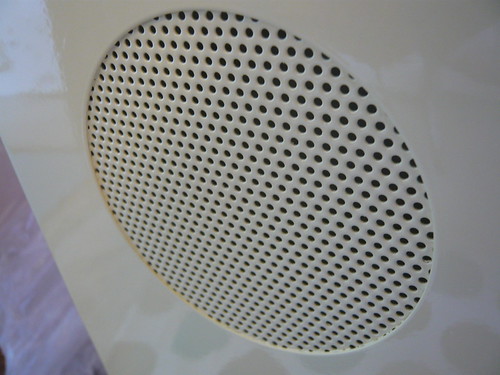
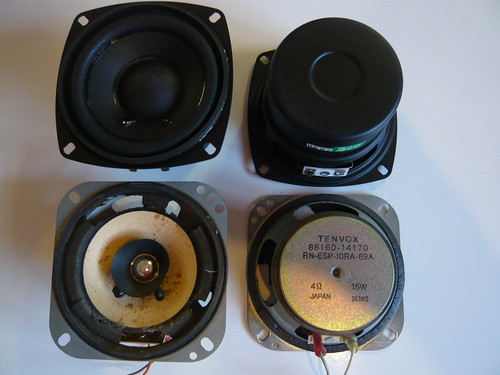


Speakers
The original Tenvox speakers were cracked and started to fall to pieces as soon as I removed them.  The stock spec are 10cm 4 ohm 15W.  I picked up a pair of Monacor SP-10/4S speakers which are identical in spec and design.  The new speakers also have the advantage of being magnetically shielded, unlike the originals.


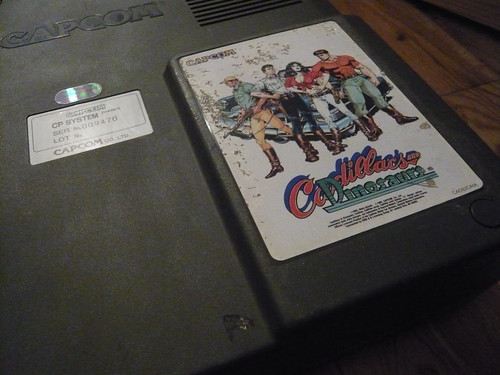
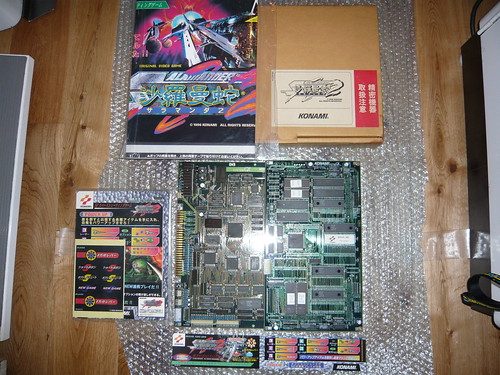
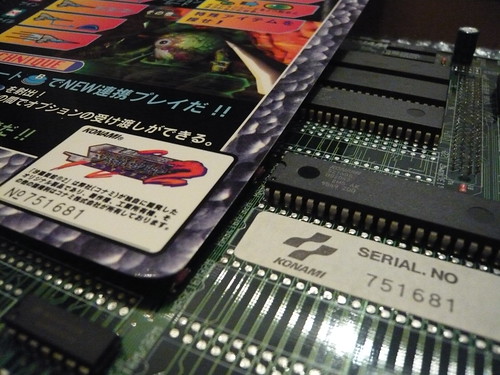
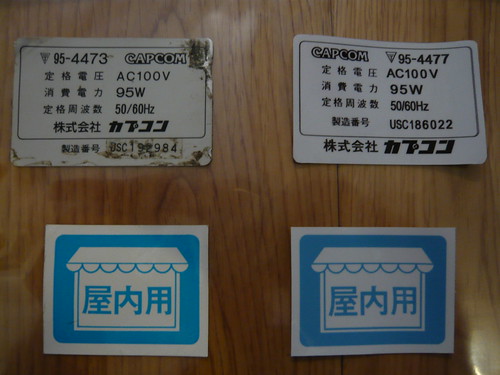
Manufacturers stickers
Here are the repro set of manufacturers stickers I had produced (originals on the left).


I’ve now started re-assembly, it’s all coming along well.

Thursday 18 June 2015

Arcade Club

I recently visited Arcade Club, the largest Classic Video Arcade in the UK.  Located on an industrial estate in Haslingden, Lancashire, we drove along the picturesque country roads to the venue.  The flicker of light from CRT’s and electronic beeps emanating from the entrance confirmed we had found Arcade Club. 
 

I was blown away by the sheer selection of games.  They have candy cabs with SFIII and bullet hell shooters, rows of Electrocoin cabs just like how I remember from the early 90's, classic 80's dedicated machines, and an awesome selection of Sega Taikan cabs.  


With machines from different eras it feels a bit like a 'best of' arcade, there really is something for everyone.


I don't recall seeing / playing the sit down version of Power Drift before.  I can't believe how much it moves, it's a definite new arcade favourite!


Hot Rod was another definite favourite of the evening.


Entry was £10 including two snacks.  I never thought I'd see something like this in the UK. An awesome night out, I can't wait to go back.


A video and some more pics of Arcade Club.


Thursday 11 June 2015

Capcom Mini Cute Restoration – Part 4

It’s now time to strip the main body, prepare it for painting and take it to the painters.

Tools required:
Ratchet and sockets – 7mm
T20H Torx bit
A couple of small Philips bits


Monitor removal
1. Remove back cover by unscrewing the eight black M4 Torx bolts. 
2. Unplug the power cable and video connector.  Note: It’s possible to unplug these from the front without removing the back cover, but I had to remove it anyway and it makes access a little easier.


3. Unscrew the four M4 nuts securing the monitor.  The monitor can now be removed.  Just take care that the leads don’t catch on anything when removing the monitor.

PSU removal
1. Remove wing nut and Philips screw, spring washer, washer, and spacer.


2. Loosen cable tie and remove wires.
3. Unplug four AMP UP connectors:


On left side:
1x 2 pin
1x 4 pin
1x 6 pin


On right side:
1x 3 pin


Filterboard removal
1. Unscrew four M4 nuts
2. Unplug two AMP UP connectors:


1x 2 pin
1x 4 pin


I then unclipped / removed the two plastic handles from inside the cab, and disconnected and removed the on / off switch at the top of the cab.

My wife and I spent a couple of hours giving the cab a really good clean, both inside and out.


We used the following:

1. Cillit Bang Power Cleaner – Grease & Sparkle
2. General purpose cloths
3. Kitchen roll
4. Huggies Pure baby wipes
5. Ambersil label remover
6. LPS electro contact cleaner
7. Powder free blue nitrile medical examination gloves
8. Plastic spoons


I gave the cab a clean with Cillit Bang Grease and Sparkle and general purpose cloths, removed any remnants with kitchen roll, and then gave it a good wipe down with baby wipes.  The label remover was great for removing stickers and sticky residue.  I used plastic spoons to scrape off sticky residue. 

I gave the wiring a good clean with baby wipes.  The control panel loom connectors were covered in coffee residue.  I gave them a good spray of electrical cleaner, and then used baby wipes on the wiring and connectors.

I found a few random nuts and bolts on the bottom and bizarrely a cocktail stick behind the PSU!

I measured the position of the Capcom side art, sprayed it with label remover and then peeled it off.  You can see just how faded the paintwork is.


I also noted the position of the original manufacturer’s stickers and carefully removed them.  They were mostly in poor condition and I plan to have repro stickers made.

Masking off and considerations for the re-spray
Once the cab had been cleaned, we started masking off the internals.  I decided not to have the internals re-sprayed because it would be difficult for the painters to achieve a good finish, and also the paint was still in good condition anyway.


The following items were masked to prevent overspray inside the cab:
1. Back cover
2. Front, excluding the outer rim and the top marquee area.
3. Filterboard space
4. On / off switch space
5. 2x plastic handle spaces


I was concerned that if the ventilation holes were masked off inside the cab, there would be a chance of the paint building up inside the holes.  To counter this we taped plastic bowls inside the cab around the ventilation holes.

I also fitted bolts to the various threads and asked to have the ridge at the bottom of the cab re-sprayed.

Off to the painters. 


The result
The paint firm colour matched as close to the original yellow as possible.  I used the paint where the Capcom side art had been as reference.


Even though the cab went in the back of the car ok, it was a little bit tight getting it in without touching the door frames and so I hired a van to collect the cab.  I didn’t want to scratch that fresh paintwork!


Thursday 4 June 2015

Cadillacs and Dinosaurs, Salamander 2, Ball Tops and Catalogues

Here are some recent purchases.

Cadillacs and Dinosaurs (de-suicided) - Capcom
Although I haven’t been actively searching for one, this has been on my wanted list ever since I’ve had a wanted list!  This is the USA version.


Salamander 2 Daughter Kit - Konami


I picked this up on Yahoo Japan.  Somehow this passed me by and I’ve never played it.  I love Konami shooters and have heard lots of good reports about it.  The Konami GX Type 2 motherboard wasn’t originally supplied with the kit, but was included in the auction.

The kit contains the following:

Salamander 2 Kit Box
Salamander 2 daughter PCB, Serial No. 751681
Anti-Static Bags
PCB Feet
Salamander 2 Manual
Stickers
2x Marquee Artwork – Serial Matches PCB
Moves List
Cardboard POP Artwork


Sanwa Denshi Briar LB-35 – 100% Textured Surface and Street Fighter III 3rd Strike Ball Tops


Street Fighter III 2nd Impact side scroll, and SNK and Jaleco Catalogues