About The Cab
Last year in Tokyo I was really happy to stumble across a Capcom STATUS 18 arcade cabinet in the awesome retro arcade at Decks Tokyo Beach
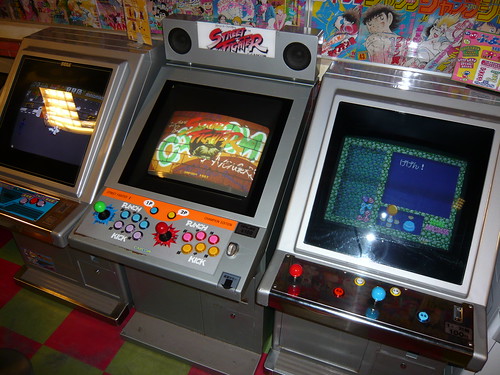
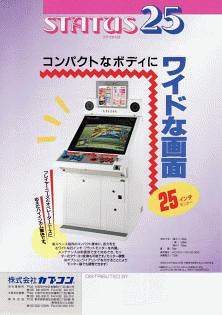
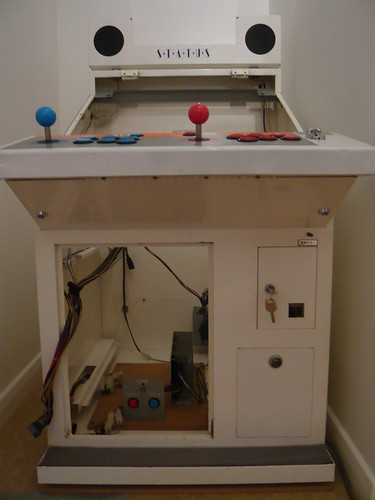
Now I’m the proud owner of its big brother, the Capcom STATUS 25. I love the design of this cabinet – the angles, the speaker / marquee assembly, the size, the hood, it’s awesome. Appearance wise, the cabinet has a lot in common with the Jaleco Pony Mark III 25. I also find the smaller 25 inch screen better suited for older jamma games than 29 inch.
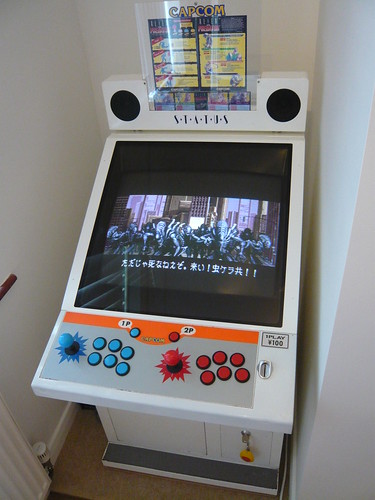
Here are some pictures of the cabinet before cleaning:


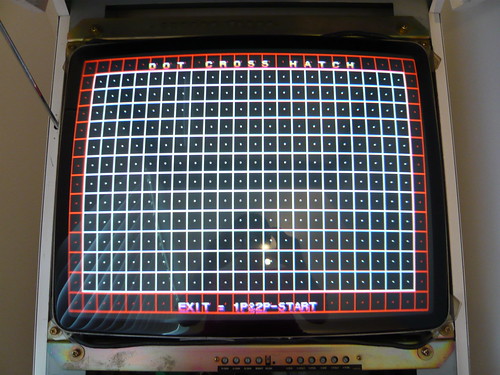
The cab is in nice original condition, with a beautiful zero burn Toshiba tube.
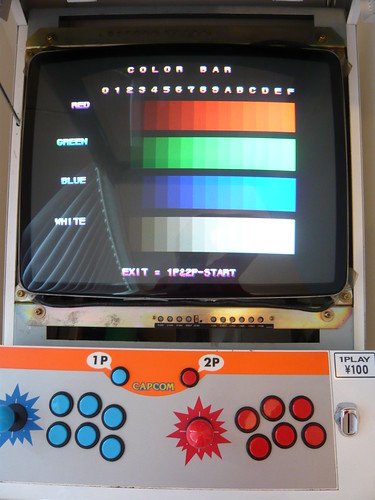

The sticks, ball tops and buttons were renewed and returned to stock by the previous owner.
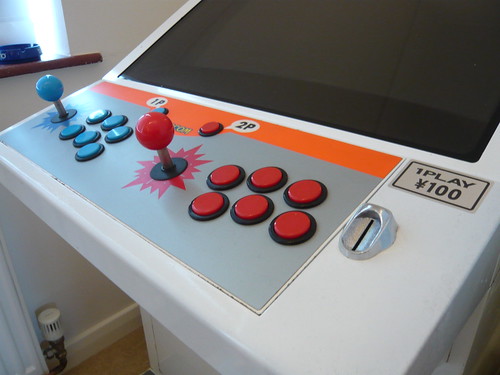
The control box has been re-painted at some point and compared to the cab body it was a slightly brighter white. Cleaning the cabinet shell with car wash shampoo and then giving it a T-cut made a massive difference, removing the nicotine and grime collected from its time in a Japanese arcade. The cabinet was noticeably whiter, lessening the difference between the control box and the cabinet body.
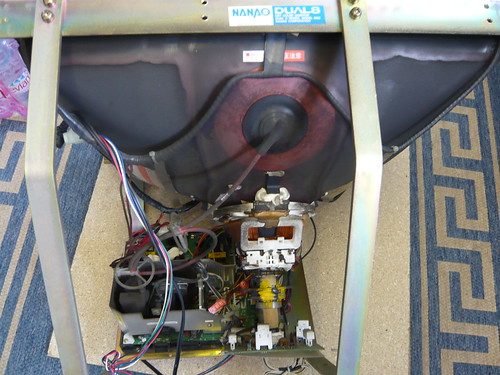
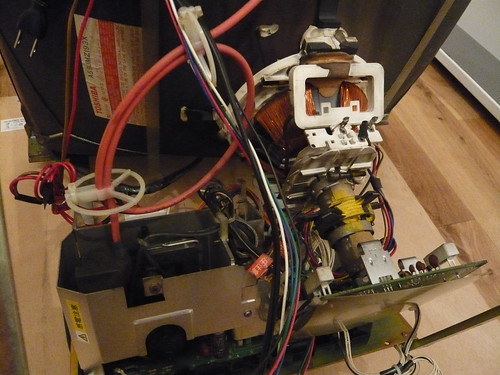
Once I had the monitor out I gave the tube and chassis a light clean with an air duster dry air blast cleaner and anti-static brush.
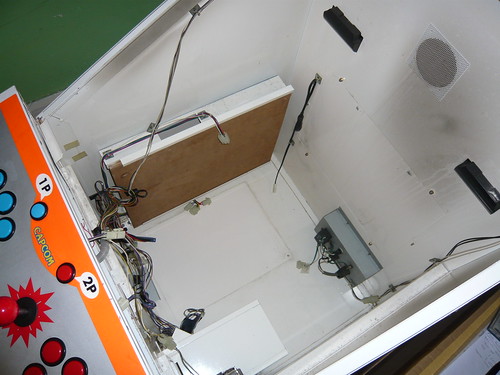
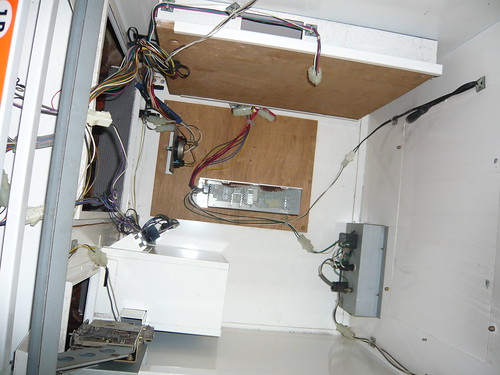
I detached the hood completely before removing the monitor to avoid the possibility of catching the monitor on the hood and make monitor removal a little easier. The inside of the cabinet was very clean, but as it was disassembled I gave it a clean with car wash shampoo and cleaned the cables / wiring with some alcohol free anti-static PC cleaner wipes, which are suitable for plastics.
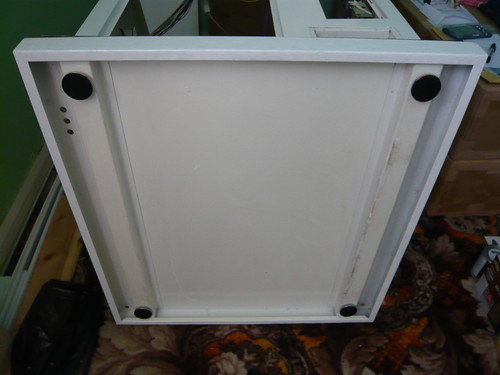
On the bottom of the cabinet base, paint had worn off and it had become pretty rusty / corroded. This was no doubt instigated by a missing foot pad.

There was also some rust / wear on the kickplate. I like to keep things original where possible and didn’t think a full re-spray was necessary, especially considering how well the cabinet had cleaned up overall. I treated the rust and then applied Hammerite direct to rust metal paint smooth white using a small foam roller purchased from a train model shop.
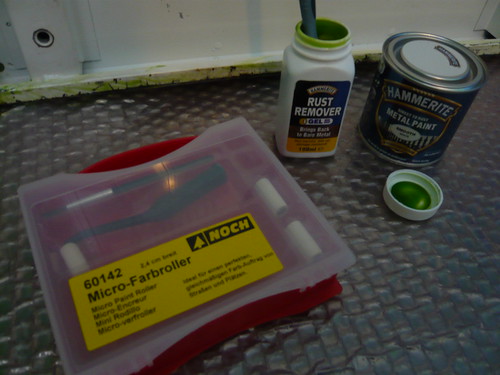
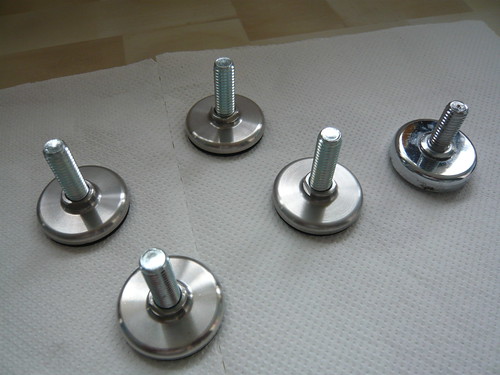
I was very pleased with the result. The remaining three foot pads were in poor condition so I removed them and fitted four new ones.
The kickplate rubber was quite tired looking, and my initial thoughts were to replace it. However after a good clean with some PC cleaner wipes (the same ones I had used to clean the wiring) it was looking much better.
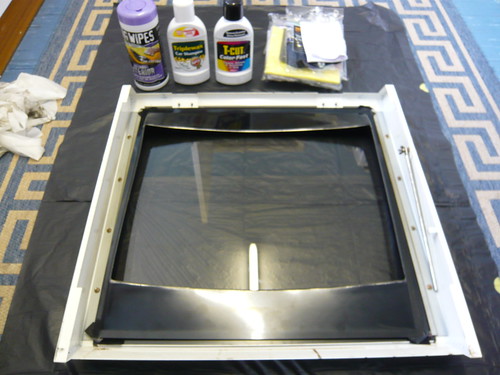
The hood has been disassembled and all parts cleaned. This includes the monitor glass cover, cradles for the glass, bezel, hood support bar and fixings. The bezel is made of very thin plastic, and is secured to the hood by strips of Velcro. It’s in perfect condition, which is pretty surprising considering its age and fragility.
I used Steller stainless steel cleaner to clean all the rusty / corroded fixings. This is great for removing rust and making parts shiny again. Here are some before and after pictures of the side monitor cradle bolts:
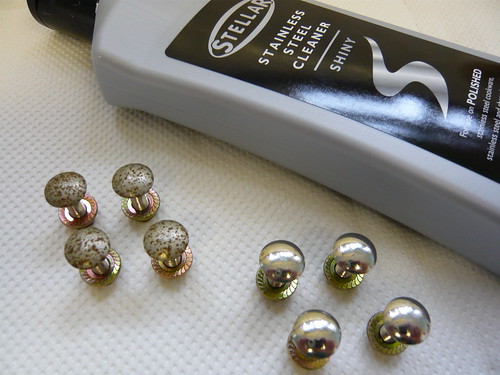
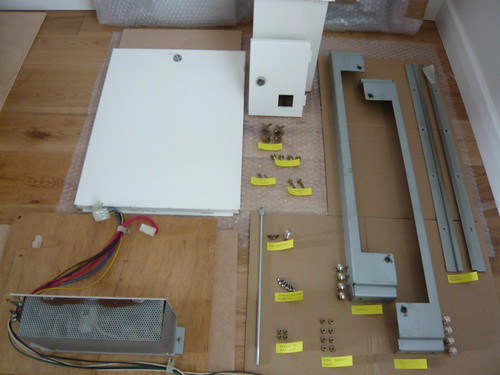
Parts cleaned ready for refitting:

The cab was missing the STATUS sticker between the speakers but Spectre (Arcade Otaku) has kindly made me a most excellent repro.
Work Done By Previous Owners
1. Sticks, ball tops and buttons renewed, colours returned to stock.
2. Repro marquee holder fabricated.
Work Done By Me
1. Strip down / internal clean. Cabinet shell cleaned.
2. Missing STATUS logo above the monitor between the speakers replaced with repro sticker.
3. Genuine Japan
4. Coin slot removed, cleaned and polished.
5. All rusty / corroded fixings cleaned.
6. Four new feet pads fitted - one original foot was missing and the remaining three were in poor condition.
7. All wiring cleaned.
8. Speaker assembly disassembled and cleaned. Support bars cleaned and polished.

9. Monitor tube and chassis lightly cleaned with air duster and anti-static brush.
10. Kickplate rubber cleaned.
11. Rust / corrosion on base treated and Hammerite direct to rust metal paint smooth white applied.
12. Hood assembly disassembled and all parts cleaned, including the monitor glass cover, cradles for the glass, bezel, hood support bar and fixings.

The Games
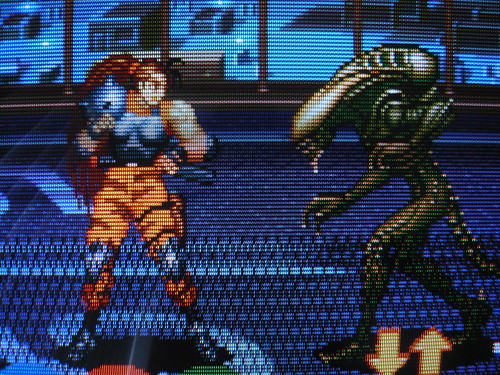
I plan to have this as my dedicated horizontal cab and I will mostly be alternating between Capcom (mainly CPS II) and Irem PCB’s.
At the moment I have Capcom’s awesome Alien vs. Predator mounted on the wooden PCB holder.

