Capcom Mini Cute Restoration – Part 3
When it comes to arcade cabinets, I like keeping things original as much as possible. I can quite happily live with a couple of battle scars from a life inside a Japanese arcade and small imperfections on the body work. But in this case it was too far gone. The cabinet body had some really large scrapes and scratches, and the fading of the paintwork was uneven. I decided early on that a full re-spray was the best option.
I wanted a nice and as close to original colour match as possible. I took the parts to a specialist paint firm which deals with minor to major car body repairs. It was the same firm where I had my New Astro City speaker surround re-sprayed.
To colour match the front section, I used the paint where castor wheels had been fitted as reference.
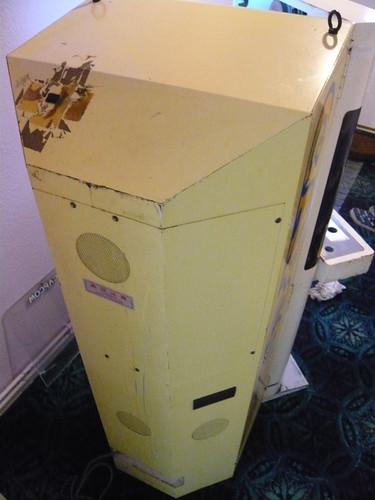
Here are the parts of the front section back from the painters. The parts were stripped back down to bare metal, primed and painted.
I’m very pleased with the colour and finish.
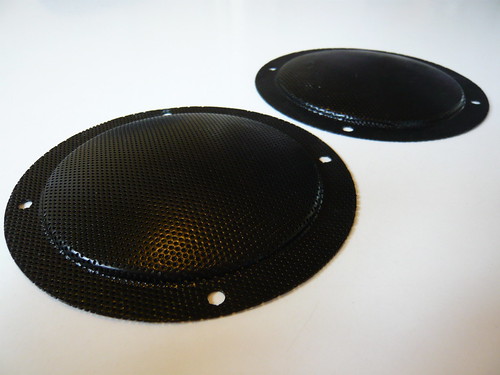
Speaker grills before and after.
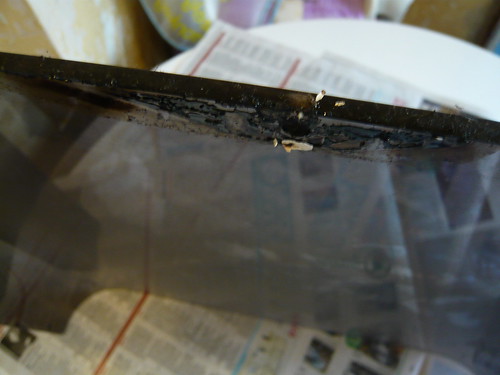
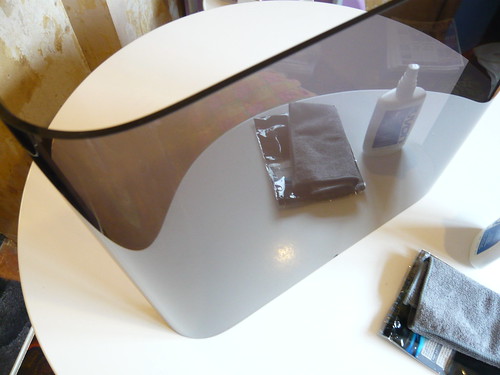
I’ve also cleaned up the screen cover, it was filthy!
First I gave it a good clean with baby wipes, removing the dirt and coffee residue. Then I cleaned it with Novus 1 Plastic Clean and Shine and a microfibre cloth. The cover has no deep scratches and cleaned up nicely.
Capcom Mini Cute Restoration – Part 2
Control Panel
The stock control panel had been replaced with a custom panel.
Fortunately I managed to source an original panel complete with looms
from Yahoo Japan. The panel is in nice condition overall.
I gave the overlay a clean using baby wipes and magic eraser, which was really good for removing small stubborn marks. However there were some small rust spots around the overlay, particularly at the front on the part which slides in to the control box.
To treat the rust I first masked off the overlay, and then I applied rust remover gel. Once the rust had been removed I used appliance touch-up paint on the metal spots.
I used the following:
1. Masking tape
2. Powder free blue nitrile medical examination gloves
3. Hammerite rust remover gel and brush
4. Hammerite radiator touch-up paint.
Sticks and Buttons
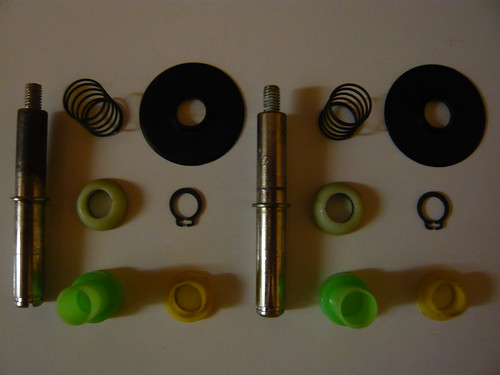
The stock sticks are Seimitsu LS-32. I’ve replaced the parts subject to wear and tear. The only tool required for disassembly is a pair of circlip pliers. First I removed the circlip. Then I removed the plastic parts, the spring and the shaft. After giving the internal part of the stick a good clean, I fitted the new parts and fixed them in place with the circlip.
The LS-32 refresh kit, and the parts they replaced.
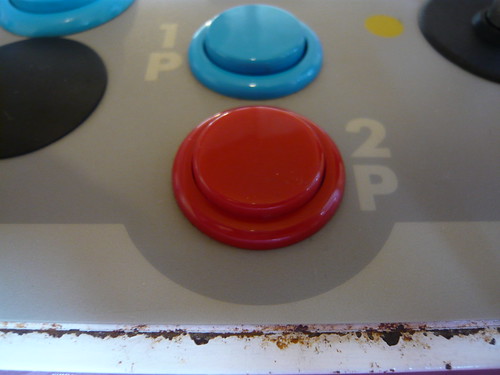
I’ve fitted new buttons and ball tops, returning them to original stock colours.
| P1 Ball Top Handle | Seimitsu LB-35 | Blue | x1 |
| P2 Ball Top Handle | Seimitsu LB-35 | Red | x1 |
| P1 Start | Seimitsu PS-14-D | Black rim/blue button | x1 |
| P2 Start | Seimitsu PS-14-D | Black rim/red button | x1 |
| CP1 | Seimitsu PS-14-G | Black rim/blue button | x6 |
| CP2 | Seimitsu PS-14-G | Black rim/red button | x6 |
Here is the panel cleaned up with new buttons and overhauled sticks, and the spots of rust treated.
Capcom Mini Cute Restoration – Part 1
Back in 2012 I wanted a second Cute and picked up this Project Cute.
The cabinet needed a lot of work, including new monitor, new control panel and re-spray. Not long afterwards a very nice Yellow Cute came up for sale, which I bought with the intention of parting with the Project. However I still have the Project and I’ve finally started restoring it to its former glory!
Here was a list I made when the Project arrived:
The Good
1. It’s a Mini Cute!
2. The cabinet body is in relatively good shape. There is little rust and no dents or damages.
3. The screen cover is in good condition with no deep scratches.
4. All of the wiring is intact and original.
5. The cabinet has a full set of locks and keys, except for the coin box.
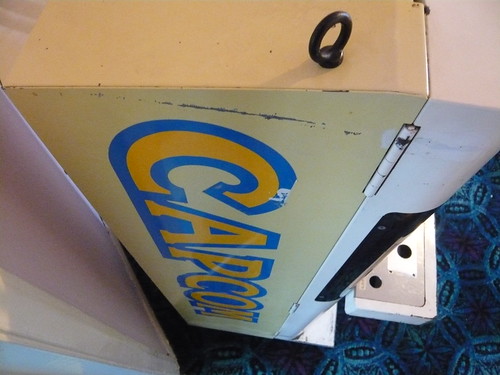
6. The cabinet came complete with an original marquee and has the two eye bolts. I’m especially pleased about these as they seem to be missing from most Cutes.
The Bad
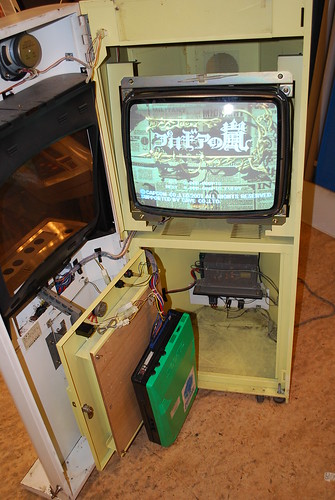
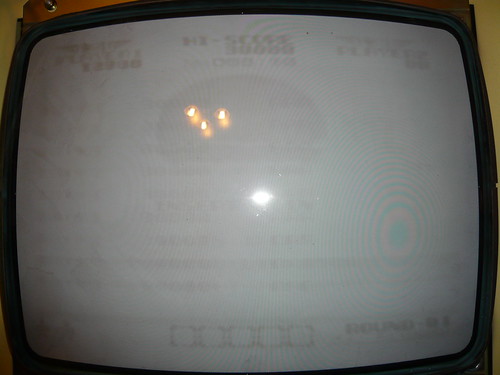
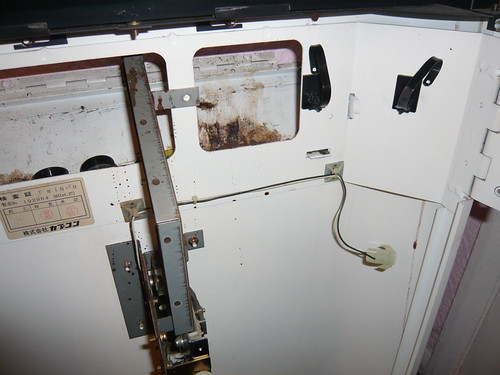
1. The monitor has some serious screen burn from the game Rygar. Also the image is terribly washed out, and adjustment didn’t seem to improve matters. Interestingly the monitor is non stock, with a Hitachi tube and a Toei chassis, model TC-HV1B.
Check out that burn!
2. The stock control panel has been replaced with a home made custom panel. The control panel looms are also missing.
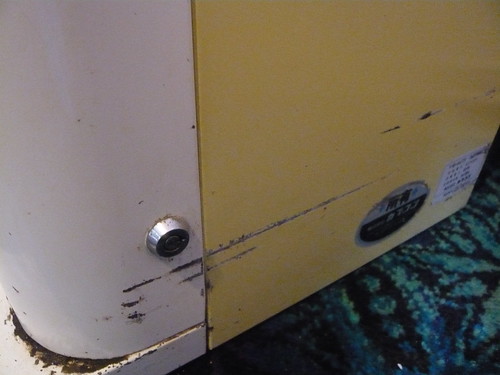
3. The cabinet body paint work has a lot of scratches and is in generally poor condition.
4. The Capcom side art is in poor condition with rips and tears.
5. The speaker grills are in poor condition.
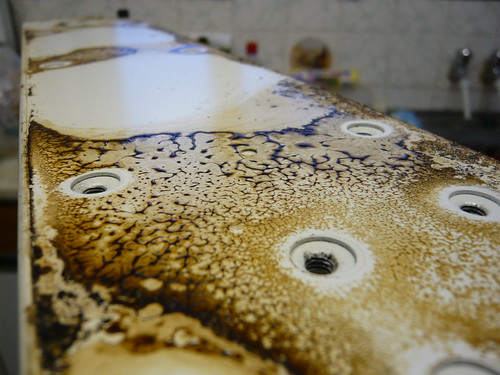
It looks like some punk had poured coffee into the control panel!
To Do
1. Re-spray the external shell – cabinet front, control box and body.
2. Add repro side art.
3. Fit new control panel, complete with new sticks and buttons.
4. Replace missing kick plate rubber.
5. Internal clean. Clean all wiring.
6. Clean and polish screen cover and bezel with Novus.
7. Replace monitor.
8. Fit new lock to the coin box.
9. Strip and clean the PSU.
Removal / Disassembly of Front Section
Tools required:
Ratchet and sockets – 7mm, 11mm, 22mm
T20 Torx bit
A couple of small Philips bits
Here is the order I disassembled the front section:
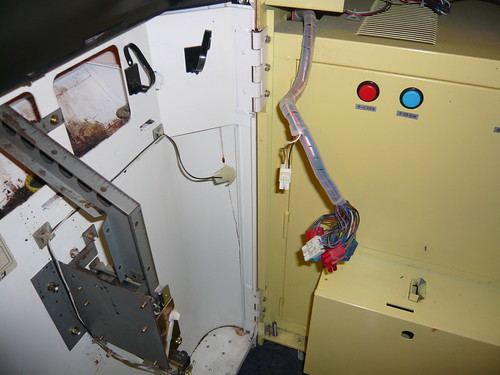
1. Unplug the speaker four pin AMP UP connector. Remove the four M4 nuts on each speaker and remove each speaker, gasket and speaker grill.
2. Disconnect the two cable ties which hold the control panel loom and feed the loom through the hole.
3. Unplug coin mech four pin AMP UP connector. Note: the connector only uses two pins. Remove the Philips screw for the coin chute. Remove the three M4 nuts securing the coin mech and remove the coin mech and coin reject button.
4. Support the front section and remove the nuts from the hinges – three nuts on each of the bottom, middle and top hinges, size M4. Now the front section can be removed.
5. Remove the control panel. Note: the panel should be secured by two M4 screws, but mine were missing. Once the screws have been removed, the panel slides out.
6. Remove the control box, secured by three M4 screws. Then remove the following from the control box a) Locking plates, two Philips screws per plate. b) Locks / cams. First remove the nut, then the washer, the cam, the securing nut and the lock. Both cams face outwards.
7. Remove the bezel assembly. Unscrew the eight M4 nuts securing the assembly, and the central top and bottom Philips screws to split it in two and allow removal.
8. Remove the two door locks / cams. First remove the nut, then the washer, the cam, the securing nut and the lock. On the bottom lock the cam faces upwards, on the top lock the cam faces downwards.
9. Remove the monitor screen cover by unscrewing the six black countersunk M4 Torx bolts. Some of the spilt coffee had found its way between the bottom of the cover and the cab body, gluing them together. I sprayed some Ambersil label remover, left it a while, and then carefully prised apart the cover and body by sliding a knife between them.
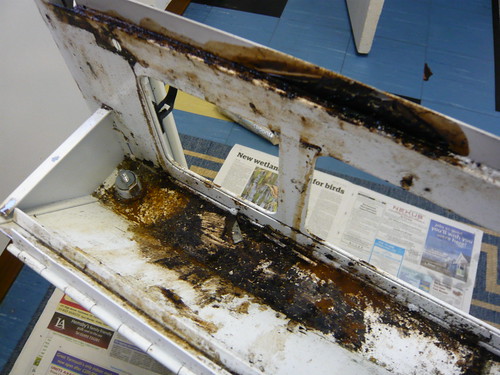
10. To remove the kick plate, unscrew the six Philips screws at the bottom and the two castor wheels – four Philips screws per wheel. Removing the kick plate reveals more of the coffee spilt over the cab at some point!
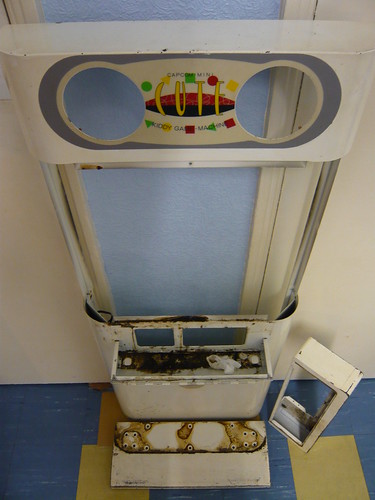
Here are the parts disassembled, before cleaning.
Once the front was disassembled, I gave all the parts a really good clean. I used the following:
1. Cillit Bang Power Cleaner – Bleach & Hygiene
2. Cillit Bang Power Cleaner – Grease & Sparkle
3. Sponge scourers
4. Kitchen roll
5. Huggies Pure baby wipes
6. Powder free blue nitrile medical examination gloves
First I sprayed the cab with Cillit Bang Grease and Sparkle and let it soak a while. Inside the control panel assembly and at the bottom of the cab / kickplate I used Cillit Bang Bleach & Hygiene. I have read reports of bleach stripping the paint off cabs, but as I was planning on having a re-spray I wasn’t too concerned. After scrubbing the worst area with the scourer pads, I wiped off the bleach with the kitchen roll and then gave the parts a good wipe down with the baby wipes.
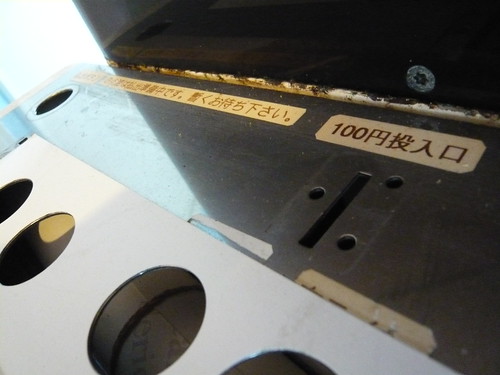
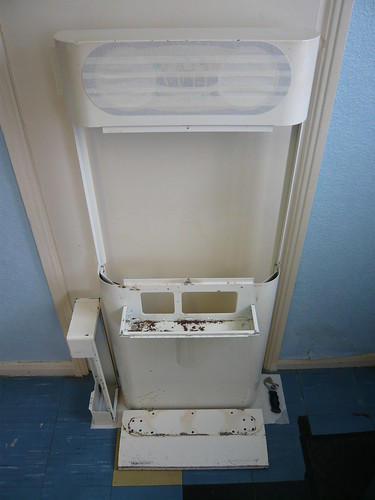
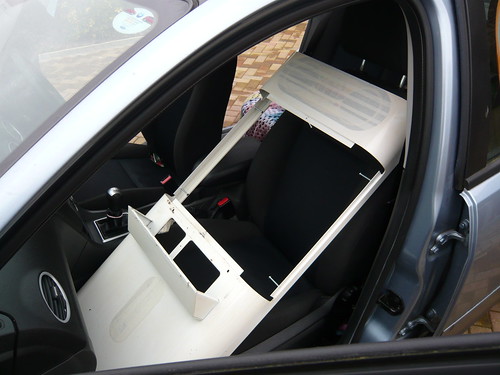
Cute front ready for painting, with the speaker and coin reject surround stickers masked. I also fitted bolts to the various threads before taking the parts to the painters. I decided not to have the inner part of the door re-painted as the paint work was still in good condition, and masked off the serial number sticker to protect it from overspray.